
Unlocking Consistency and Control: How the ML-C Automatic Mounting Press Transforms Lab Sample Preparation
In metallographic preparation, mounting is more than a preliminary step—it’s the foundation of quality analysis. Poorly mounted samples can skew polishing, interfere with microstructure visibility, and even damage expensive lab equipment. That’s why the ML-C – Automatic Mounting Press with Memory by Precision Surfaces International, Inc. (PSI) stands out as a critical tool in modern materials labs.
With its fully automatic operation, programmable memory functions, and precise temperature/pressure controls, the ML-C is designed to streamline workflows while ensuring repeatable results across sample batches. In this post, we’ll walk through how this automatic mounting machine simplifies complex tasks, explore tips for best practices, and help you choose the ideal memory settings for consistent output.

Individual vs Central Force Polishing: Choosing the Right Pressure Mode1. Fully Automatic Mounting Guide: Step-by-Step for Optimal Results
Traditional mounting methods often require constant supervision and manual input. In contrast, the ML-C automatic mounting press automates this entire process, letting operators focus on higher-value tasks while maintaining full control over quality.
Step 1: Prepare the Sample
- Clean the specimen thoroughly to remove any oils or debris.
- Ensure the sample fits comfortably in the mold cylinder without protruding. The ML-C supports multiple mold sizes (25 mm, 30 mm, 40 mm, etc.) for flexible applications.
Step 2: Add Mounting Media
- Choose a thermosetting resin appropriate for your analysis needs:
- Phenolic resins for general-purpose mounting
- Epoxy resins for excellent edge retention
- Acrylics or transparent resins when viewing the entire sample is necessary
The press will evenly distribute the material around the sample for a clean, void-free mount.
Step 3: Select or Program Mounting Cycle
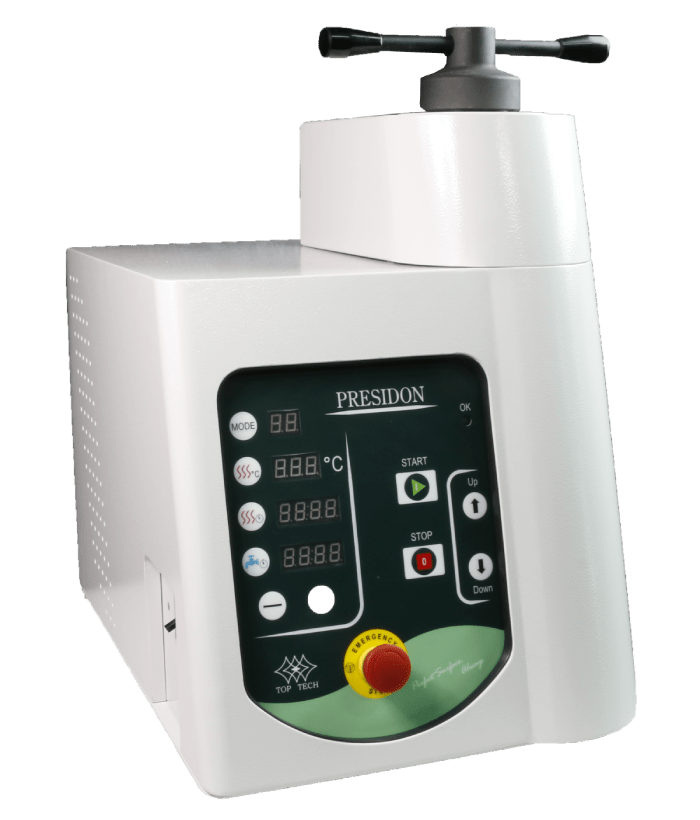
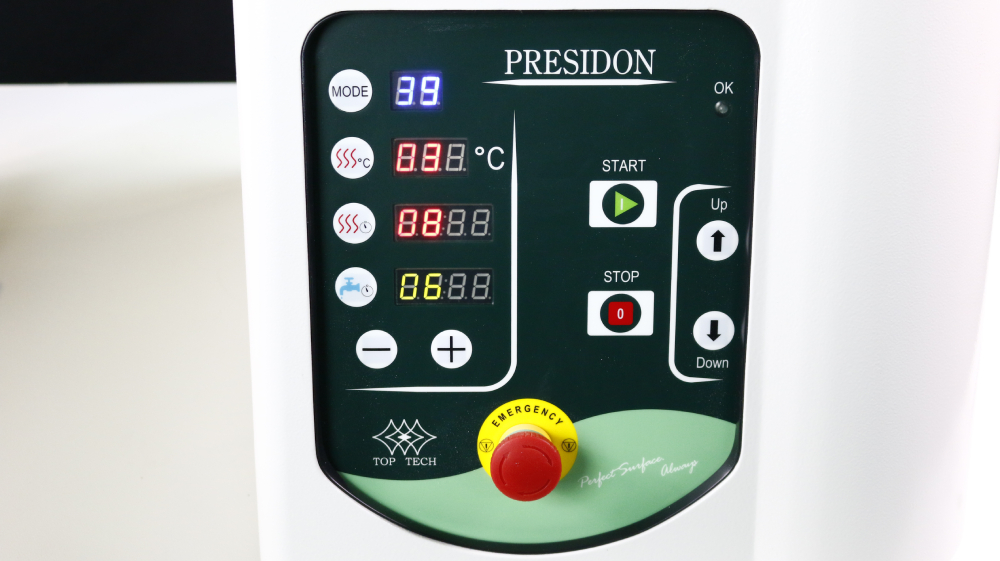
Use the HMI interface to:
- Select a preprogrammed cycle from memory
- Or customize parameters such as:
- Heating temperature (e.g., 150°C)
- Heating time (e.g., 8 minutes)
- Cooling duration (e.g., 4 minutes)
- Pressure setting (e.g., 350 bar)
The automatic mounting machine will handle all subsequent operations based on your chosen parameters.
Step 4: Start the Cycle
Press “Start” and allow the press to complete the entire cycle:
- Heating
- Compression
- Cooling
Once the cycle finishes, the ML-C automatically decompresses and ejects the sample.
Step 5: Inspect the Mount
Ensure the mount:
- Has no voids or bubbles
- Is centered and aligned
- Has properly filled edges and does not show delamination
This cycle, once programmed and tested, can be repeated effortlessly for consistent results batch after batch.
2. Best Practices for Consistent Mounting: Getting the Most Out of Your Precision Mounting Press
Even with automated equipment like the ML-C, consistent, defect-free mounts rely on following essential best practices. Here’s what labs can do to ensure they maximize the benefits of their precision mounting press:
a. Use the Right Mold Size for Each Sample
Using a mold that’s too large wastes resin and may cause improper compression. Too small, and you risk deforming the sample or compromising edge retention. Choose the smallest mold that offers full sample encapsulation with at least 2 mm buffer around all sides.
b. Preheat the Specimen (if applicable)
In some cases—particularly with large metal parts—it’s beneficial to preheat the sample slightly to ensure uniform curing and reduce thermal shock, especially when using epoxy.
c. Calibrate the Press Regularly
Although the automatic mounting press is designed for long-term durability, calibration ensures:
- Pressure is applied accurately
- Heating elements maintain consistent temperatures
- Cooling cycles remain uniform
Schedule calibration at least every 6–12 months depending on usage frequency.
d. Monitor Resin Storage and Shelf Life
Store resins in temperature-controlled environments and adhere to their shelf life to avoid curing failures or weak bonds.
e. Label Mounts Immediately
Use a scribe, labeler, or colored resin additives to mark sample IDs. The ML-C’s consistency makes it easier to pre-design standardized mount labeling processes.
3. Choosing Press Memory Settings: Save Time and Ensure Repeatability
The ML-C’s programmable memory is one of its standout features. It allows labs to save up to 99 user-defined cycles tailored for different materials, applications, or departments.
Here’s how to create and manage optimal memory profiles on your lab sample mounting press:
What Can Be Stored?
Each memory slot typically saves:
- Heating temperature
- Heating duration
- Cooling duration
- Pressure setting
- Mold size (manual input for labeling)
- Resin type (manual notes)
Suggested Profiles by Material Type:
| Material | Temp (°C) | Pressure (bar) | Time (min) | Resin Type |
| General steel | 150 | 350 | 8/4 (heat/cool) | Phenolic |
| Delicate alloys | 120 | 250 | 10/5 | Epoxy |
| Printed circuit board | 100 | 200 | 12/6 | Acrylic |
| Transparent mount | 130 | 300 | 8/4 | Transparent epoxy |
Note: Always validate new profiles with trial samples before full implementation.
Benefits of Using Press Memory:
- Faster Setup: Just load and start—no re-entering variables
- Less Human Error: Ensures repeatability, even across different operators
- Batch Consistency: Perfect for high-volume environments like QA labs or production lines
- Audit Trails: Easy to document parameters for compliance or traceability
Why Choose the ML-C Automatic Mounting Press?
The ML-C Series is designed with busy labs in mind. Whether you’re in metallurgy, electronics, aerospace, or academic research, this automatic mounting press brings unmatched control and productivity to your lab’s workflow.
Key Features Recap:
- Fully automatic operation for heating, compression, and cooling
- Programmable memory to store up to 99 custom cycles
- Compatible with multiple mold sizes
- Intuitive HMI touchscreen for easy operation
- Durable, compact build for space-conscious labs
With the ML-C, you eliminate variability and human error—two major culprits of inconsistent mount quality.
Conclusion
Sample mounting doesn’t have to be a tedious or error-prone process. With the ML-C Automatic Mounting Press from PSI, labs gain a powerful edge in repeatability, quality, and efficiency. Whether you’re managing dozens of samples a day or handling delicate materials that demand precision, the ML-C is the solution that delivers results without compromise.
By leveraging features like programmable memory, precision temperature control, and fully automated cycles, your lab is equipped for modern challenges—and positioned for future growth.
Ready to upgrade your lab's polishing capabilities?
Contact Precision Surfaces International, Inc. (PSI) for a customized consultation.
Learn how the PLATO-HA Series can fit seamlessly into your lab’s workflow.
-
 Category Mounting Presses
ML-C Mounting Press
